When I was growing up, as a German kid in Geelong, we had 4 kinds of bread – white, grey, brown and black.
White kind of referred to the white bread sold in shops (square loaf uncut), but what it really meant was the white rolls we got from the local German baker, who used a steam oven, which at that time had come especially from Germany. Those rolls were the best.
Grey bread was light rye, usually with caraway seeds. This was my favourite bread of all.
Brown bread was a heavy, whole grain, dark-ish rye.
Black bread was whole grain pumpernickel. And it was really black. Thick and dense. These last two were imported from Germany or Scandinavia.
I’ve experimented quite a bit with wholegrain breads, since the kind you buy in shops here usually have a small scattering of very hard and crunchy grains, and that’s not the point at all.
And all of that brought me to another recipe in the Nordic Baking Book – Danish rye – a “brown” bread.
This was one of the most challenging recipes I’ve done, from what is generally a pretty challenging book. But the main thing this time is not that the recipe is confusing or difficult (which it is), but that so much of it is so unusual it feels really wrong.
This is definitely a recipe where you need faith. This recipe offered alternatives for either using buttermilk or sourdough – I went with a combination of both, since it desperately needed extra liquid when I just used sourdough. It also combined sourdough and yeast, when the yeast was just going to sit for three days, which confused me completely.
The recipe called for coarse rye flour, which I didn’t have, so I just used plain rye flour. Next time I plan to mill some of the grain fresh (a friend had a small portable grain mill) to get the coarse texture asked for, and see what difference that makes.
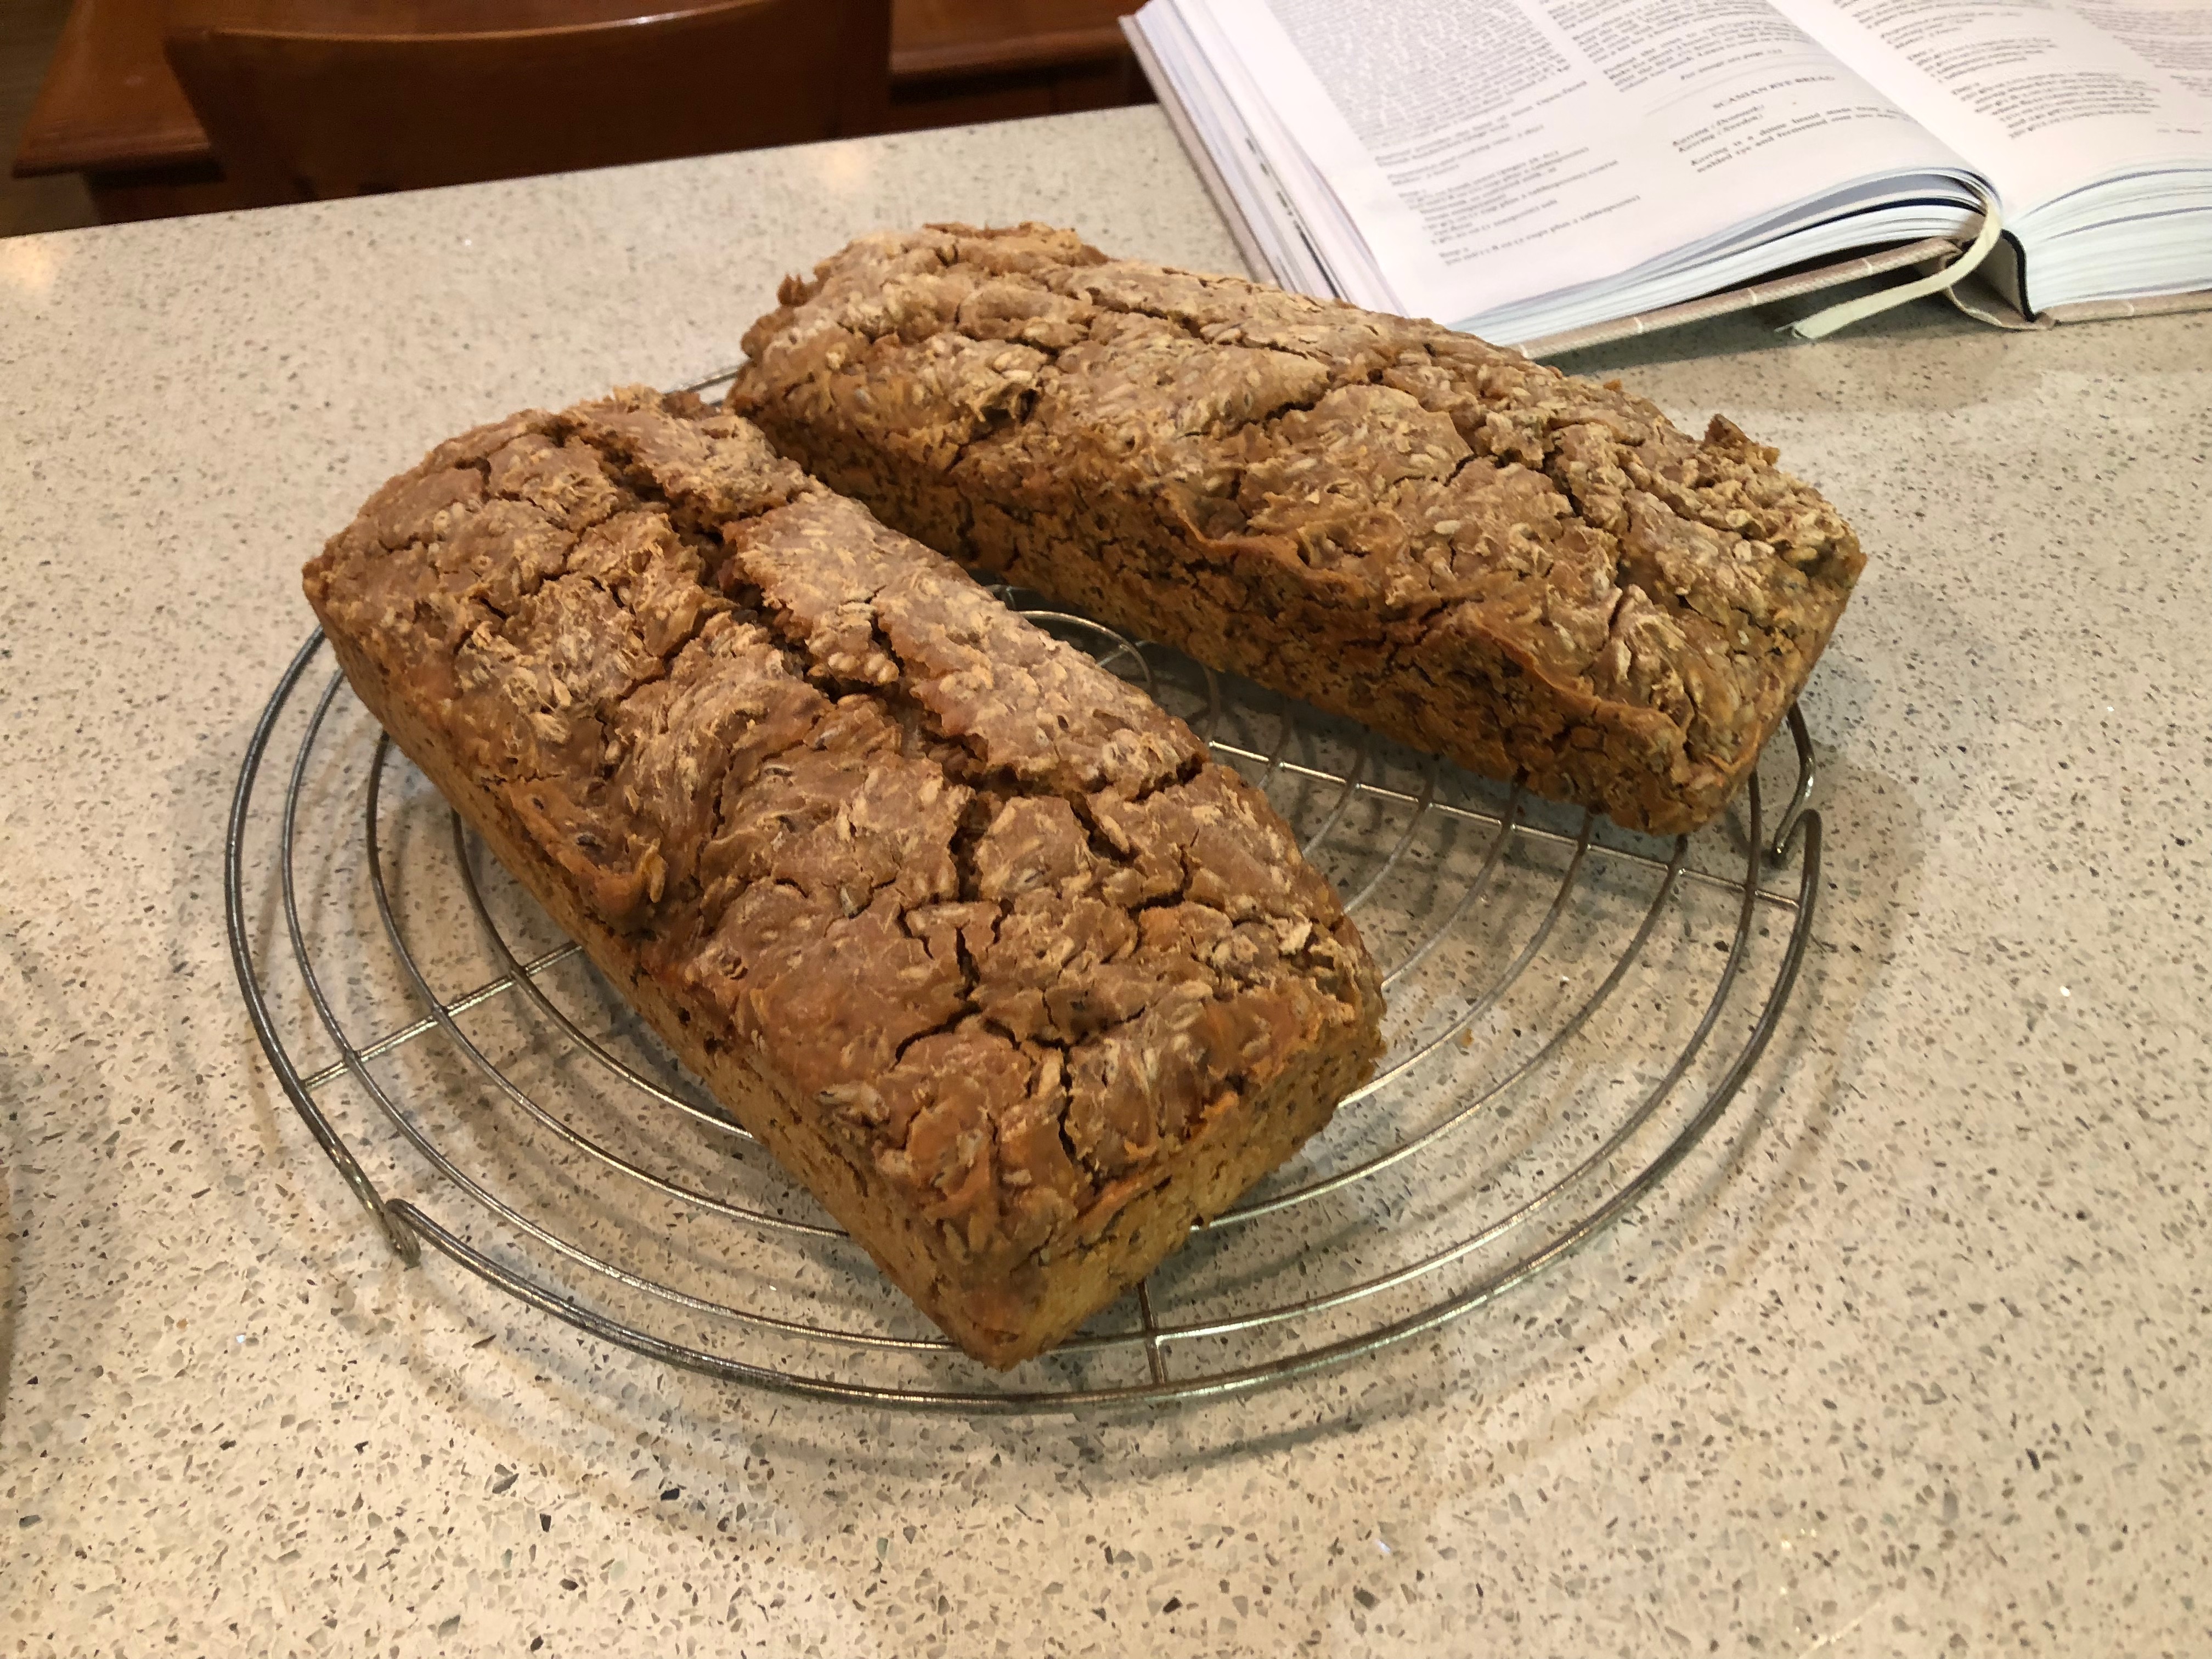
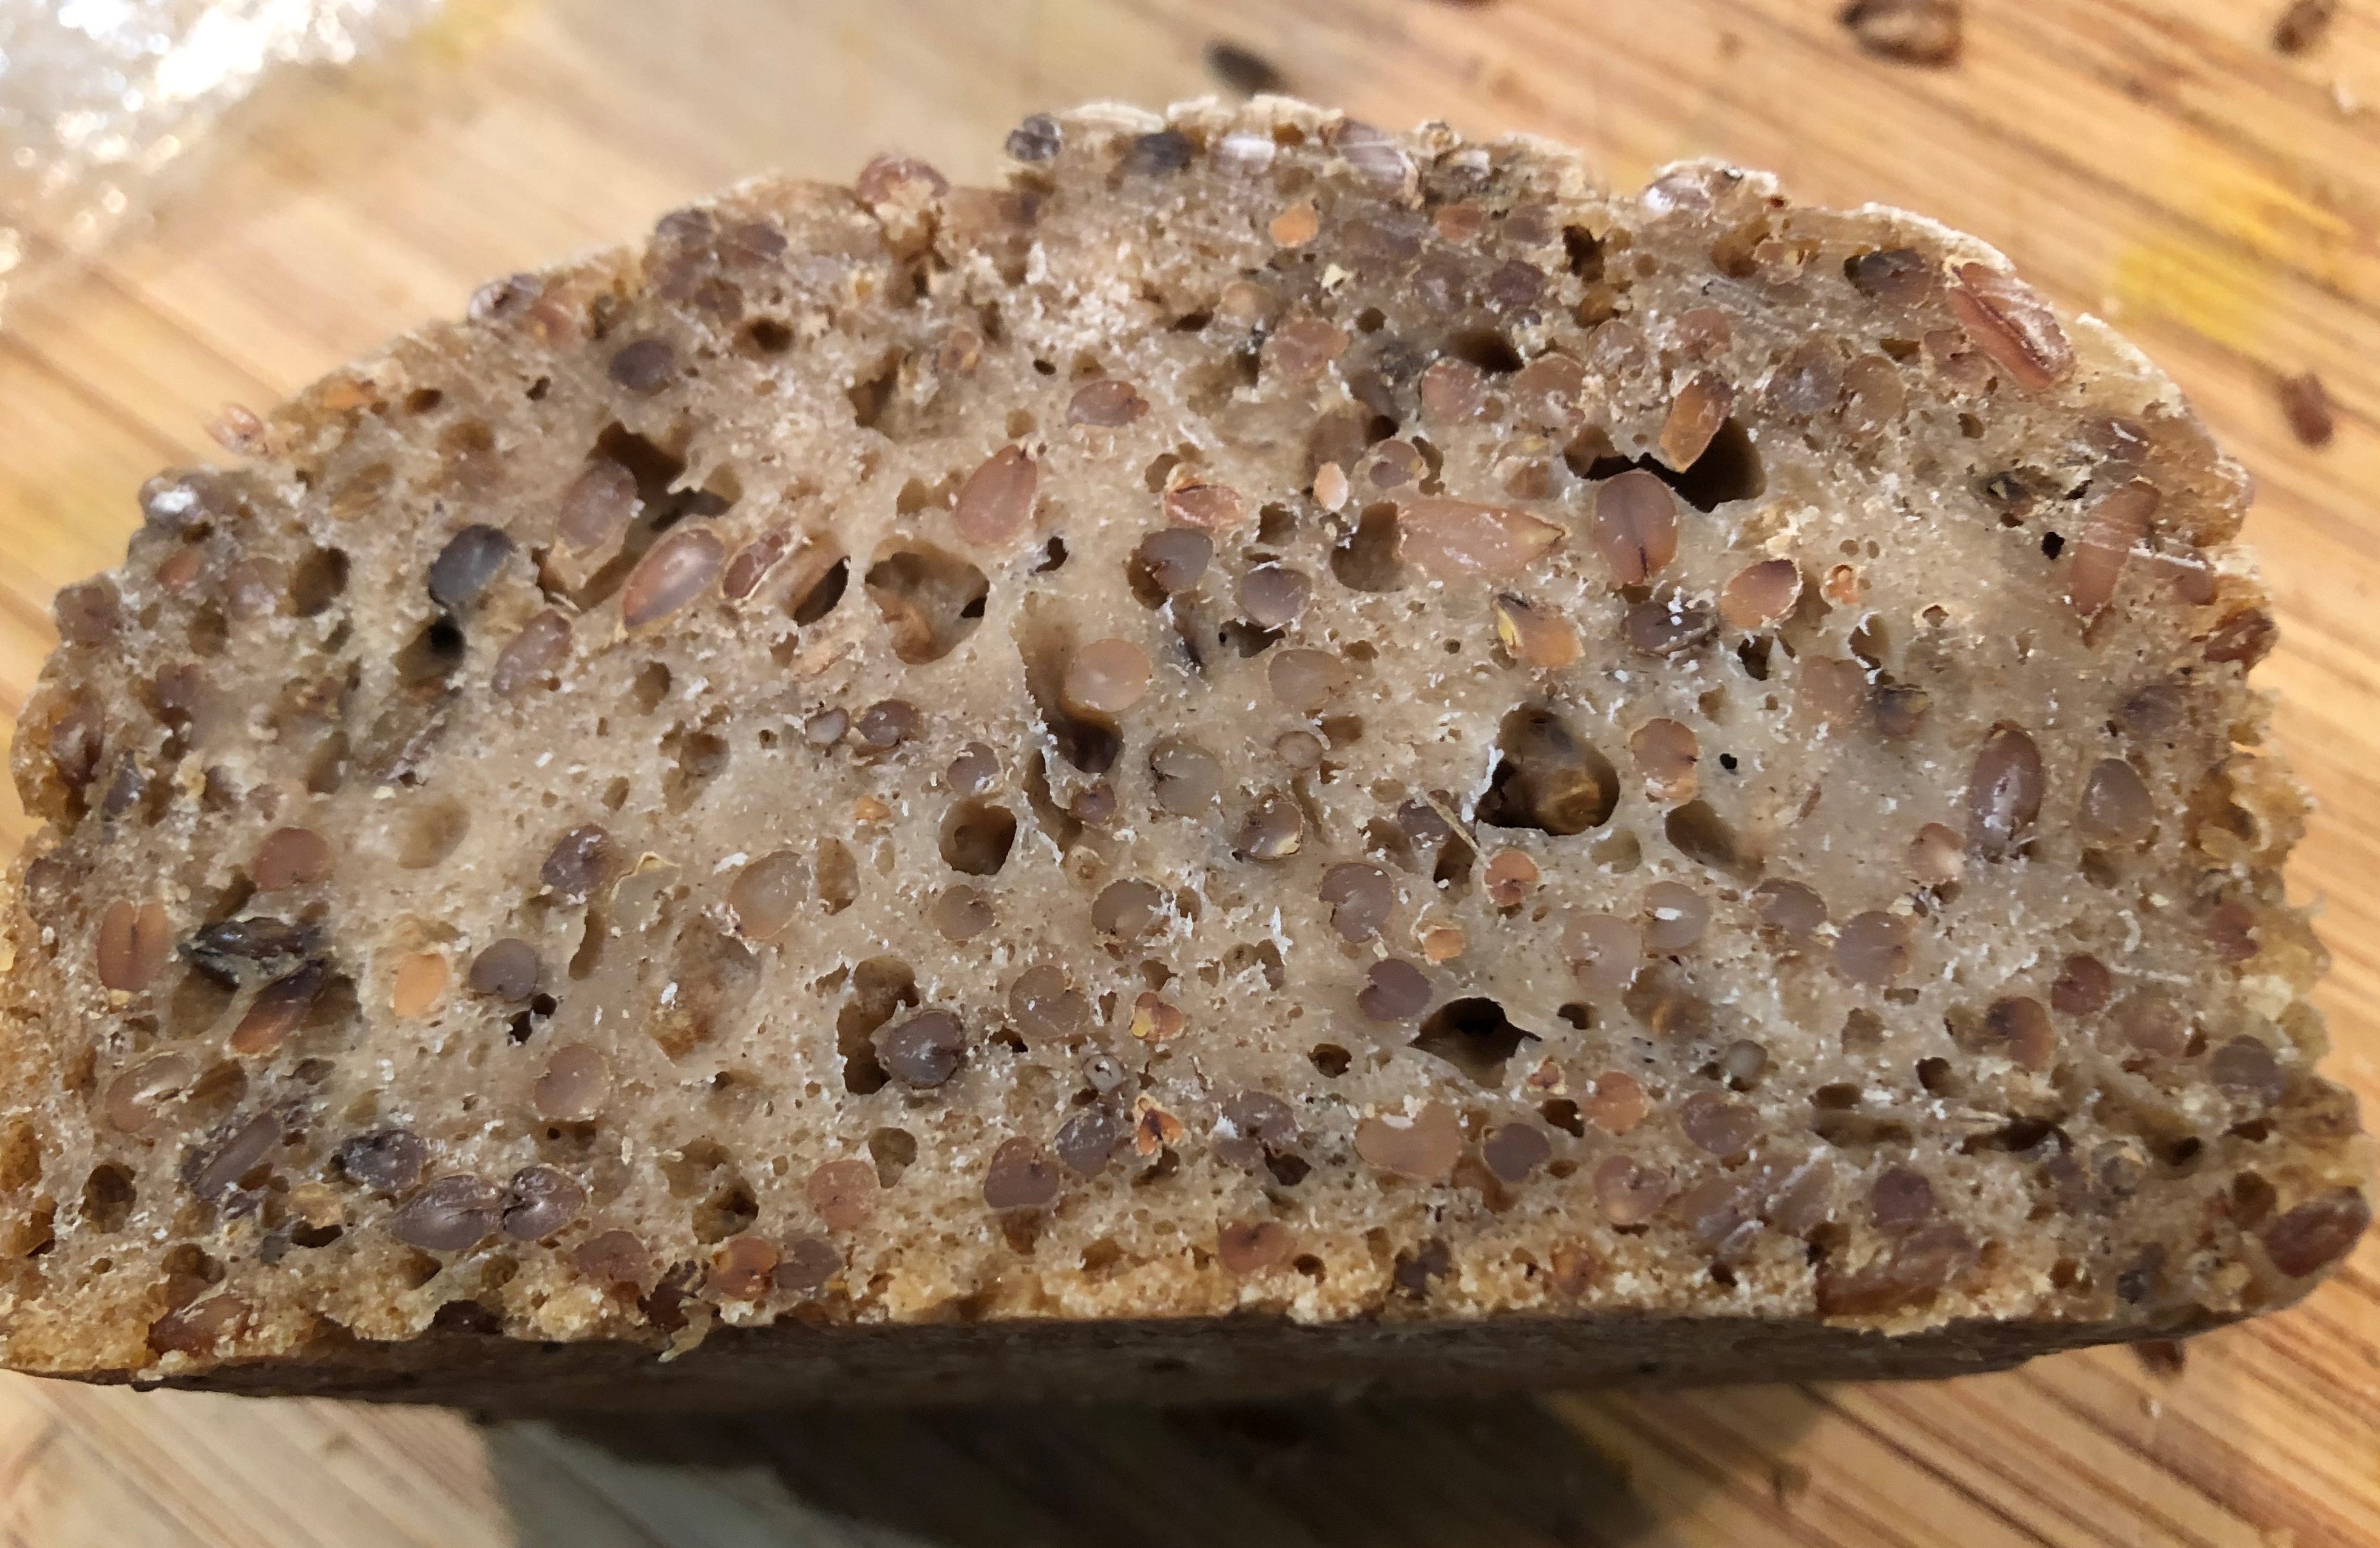
What follows here is exactly what I did, and that resulted in a really authentic tasting and textured bread.
5-day Danish Rye
• a tablespoon of dry yeast
•150g rye flour
• 1 tsp salt
• up to 1 cup of sourdough
• about 200 ml of cultured milk (I used kefir) Use what you need to be able to mix the flour, though expect it to be fairly firm.
Mix this in a bowl. Cover the bowl with clingfilm and leave in a warm spot for three days.
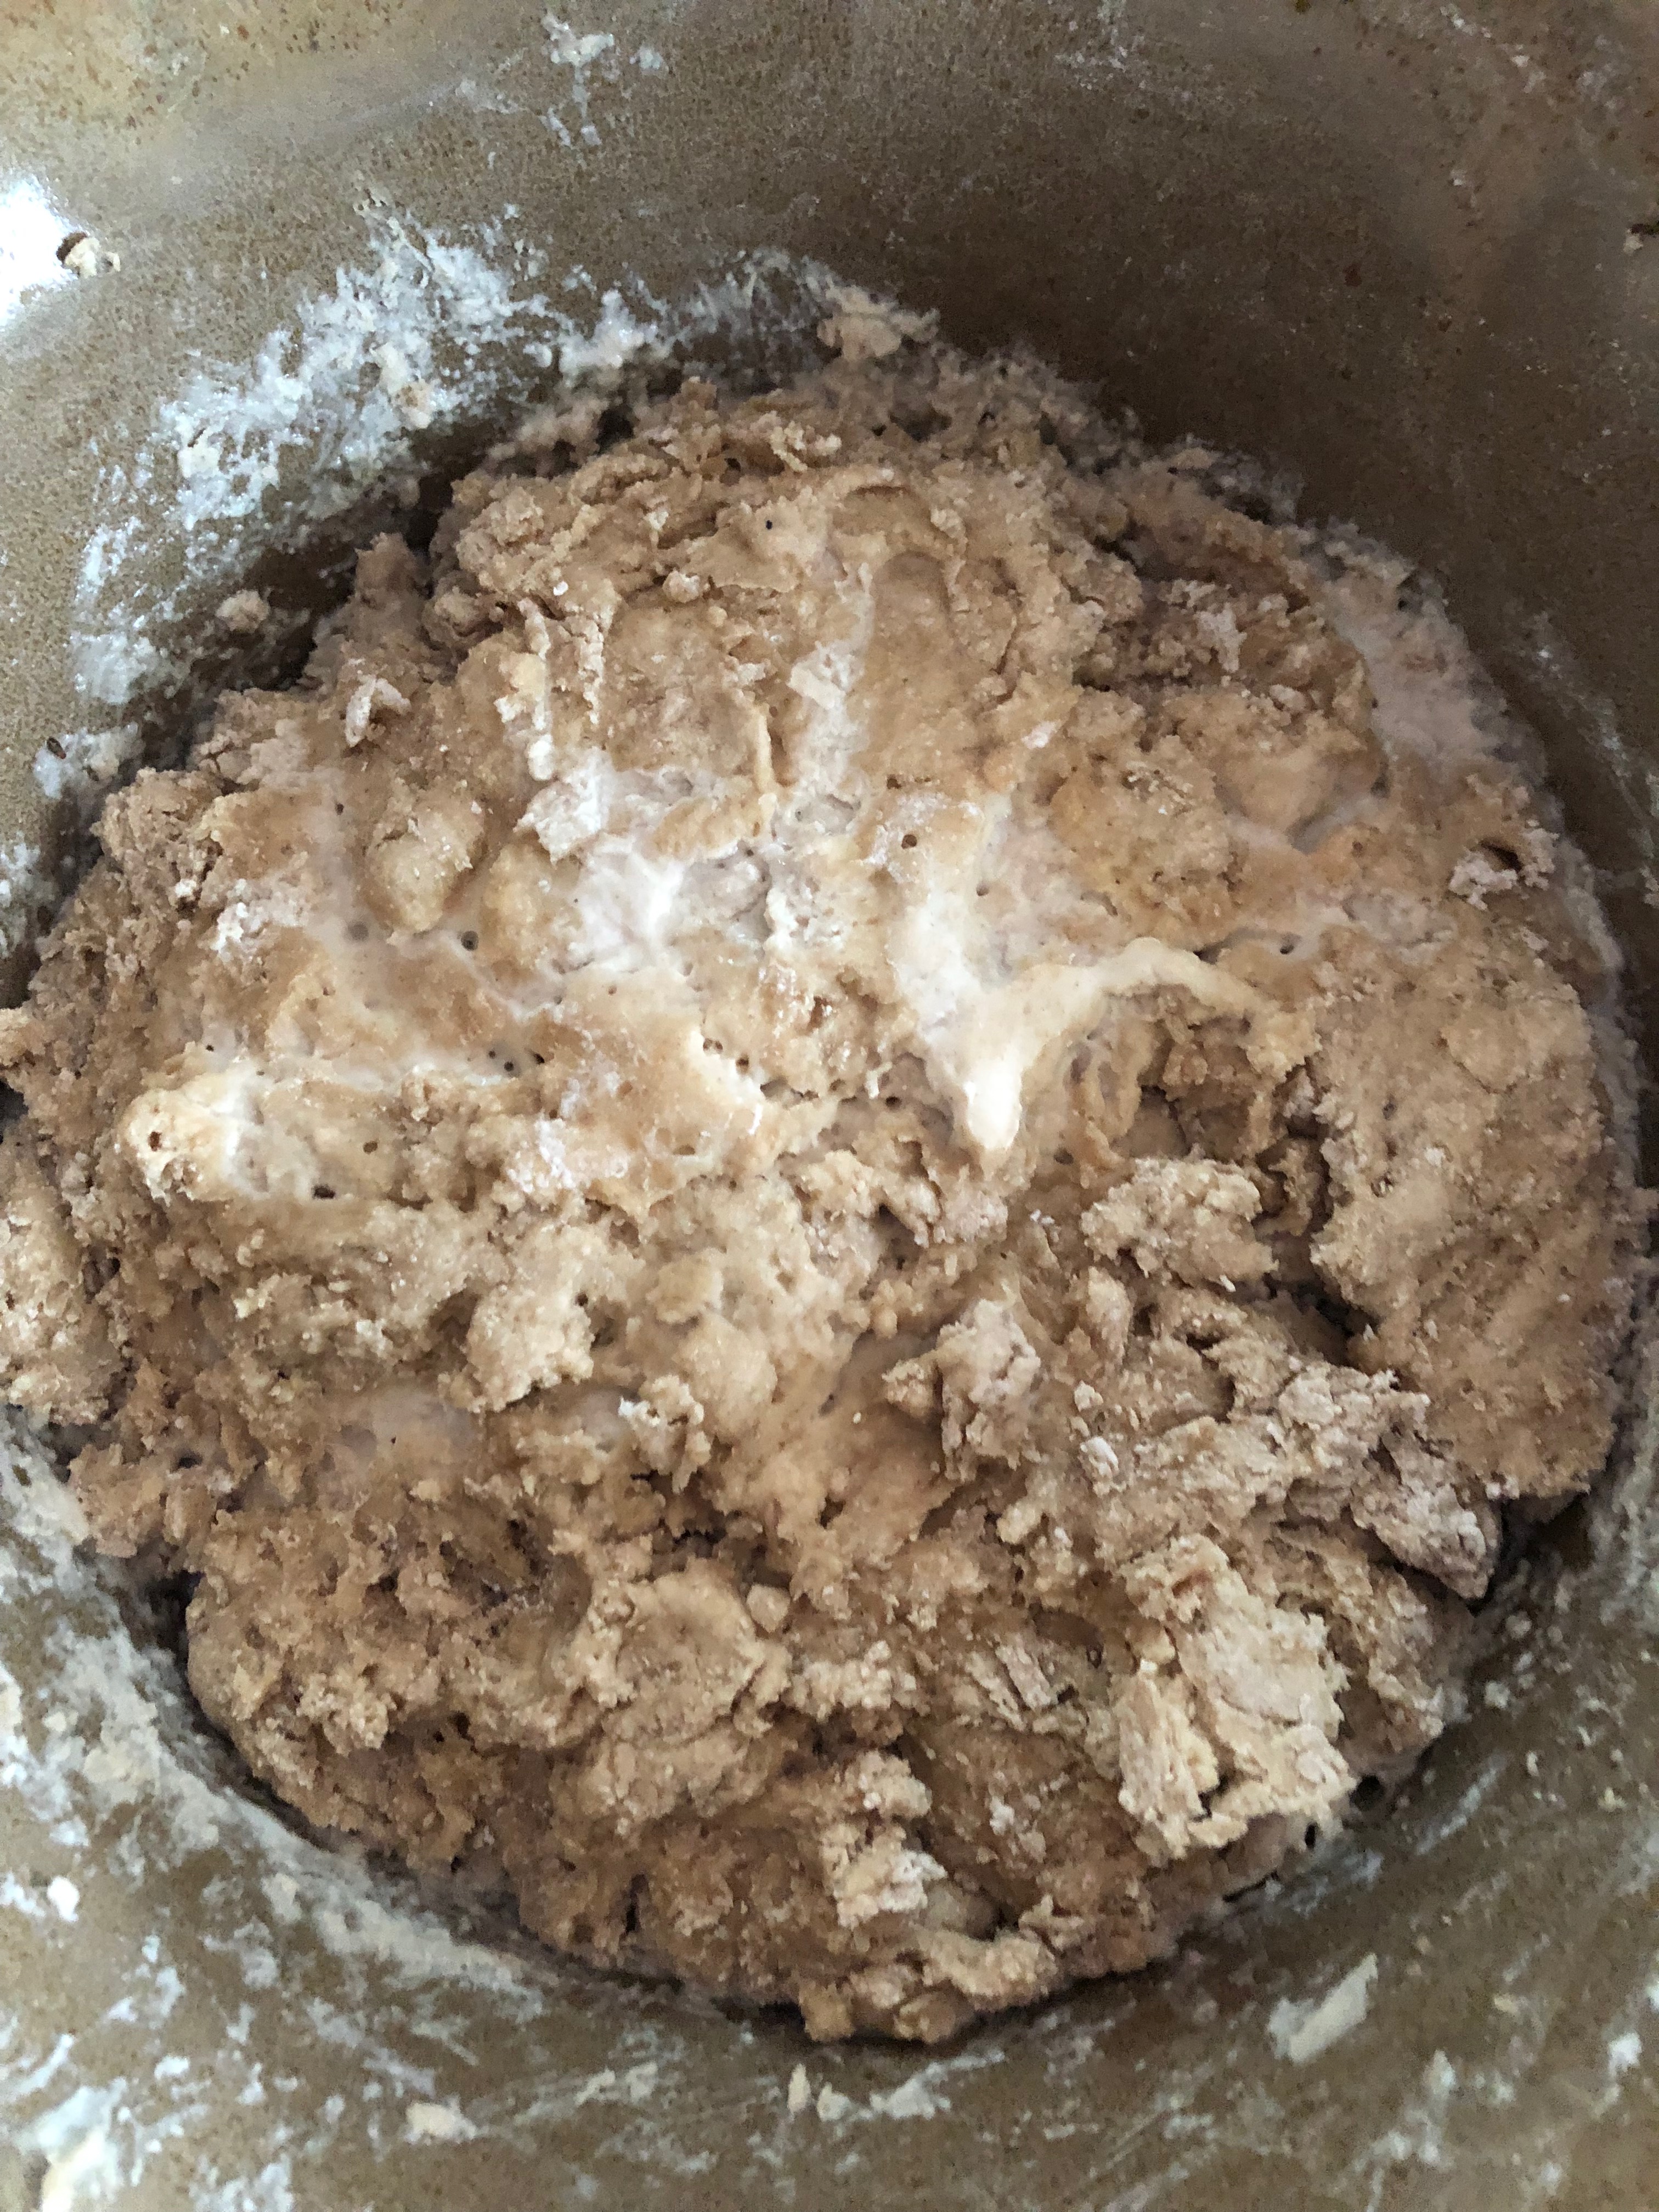
This will be very firm. By the third day it will smell like a bowl of pure fresh yeast. Don’t expect it to rise very much, or at all.
• 500ml kefir/cultured milk
• I cup sourdough
• 1 kg rye flour
• 1 tsp salt
• The above 3-day mix
• water as necessary to get a mixable dough
This again will be a very firm and a very sticky mix. Cover and leave for 24 hours. Don’t expect any or much rise.
• 500g whole rye kernels
• caraway seeds
Soak these in water for 24 hours. Start with boiling water.
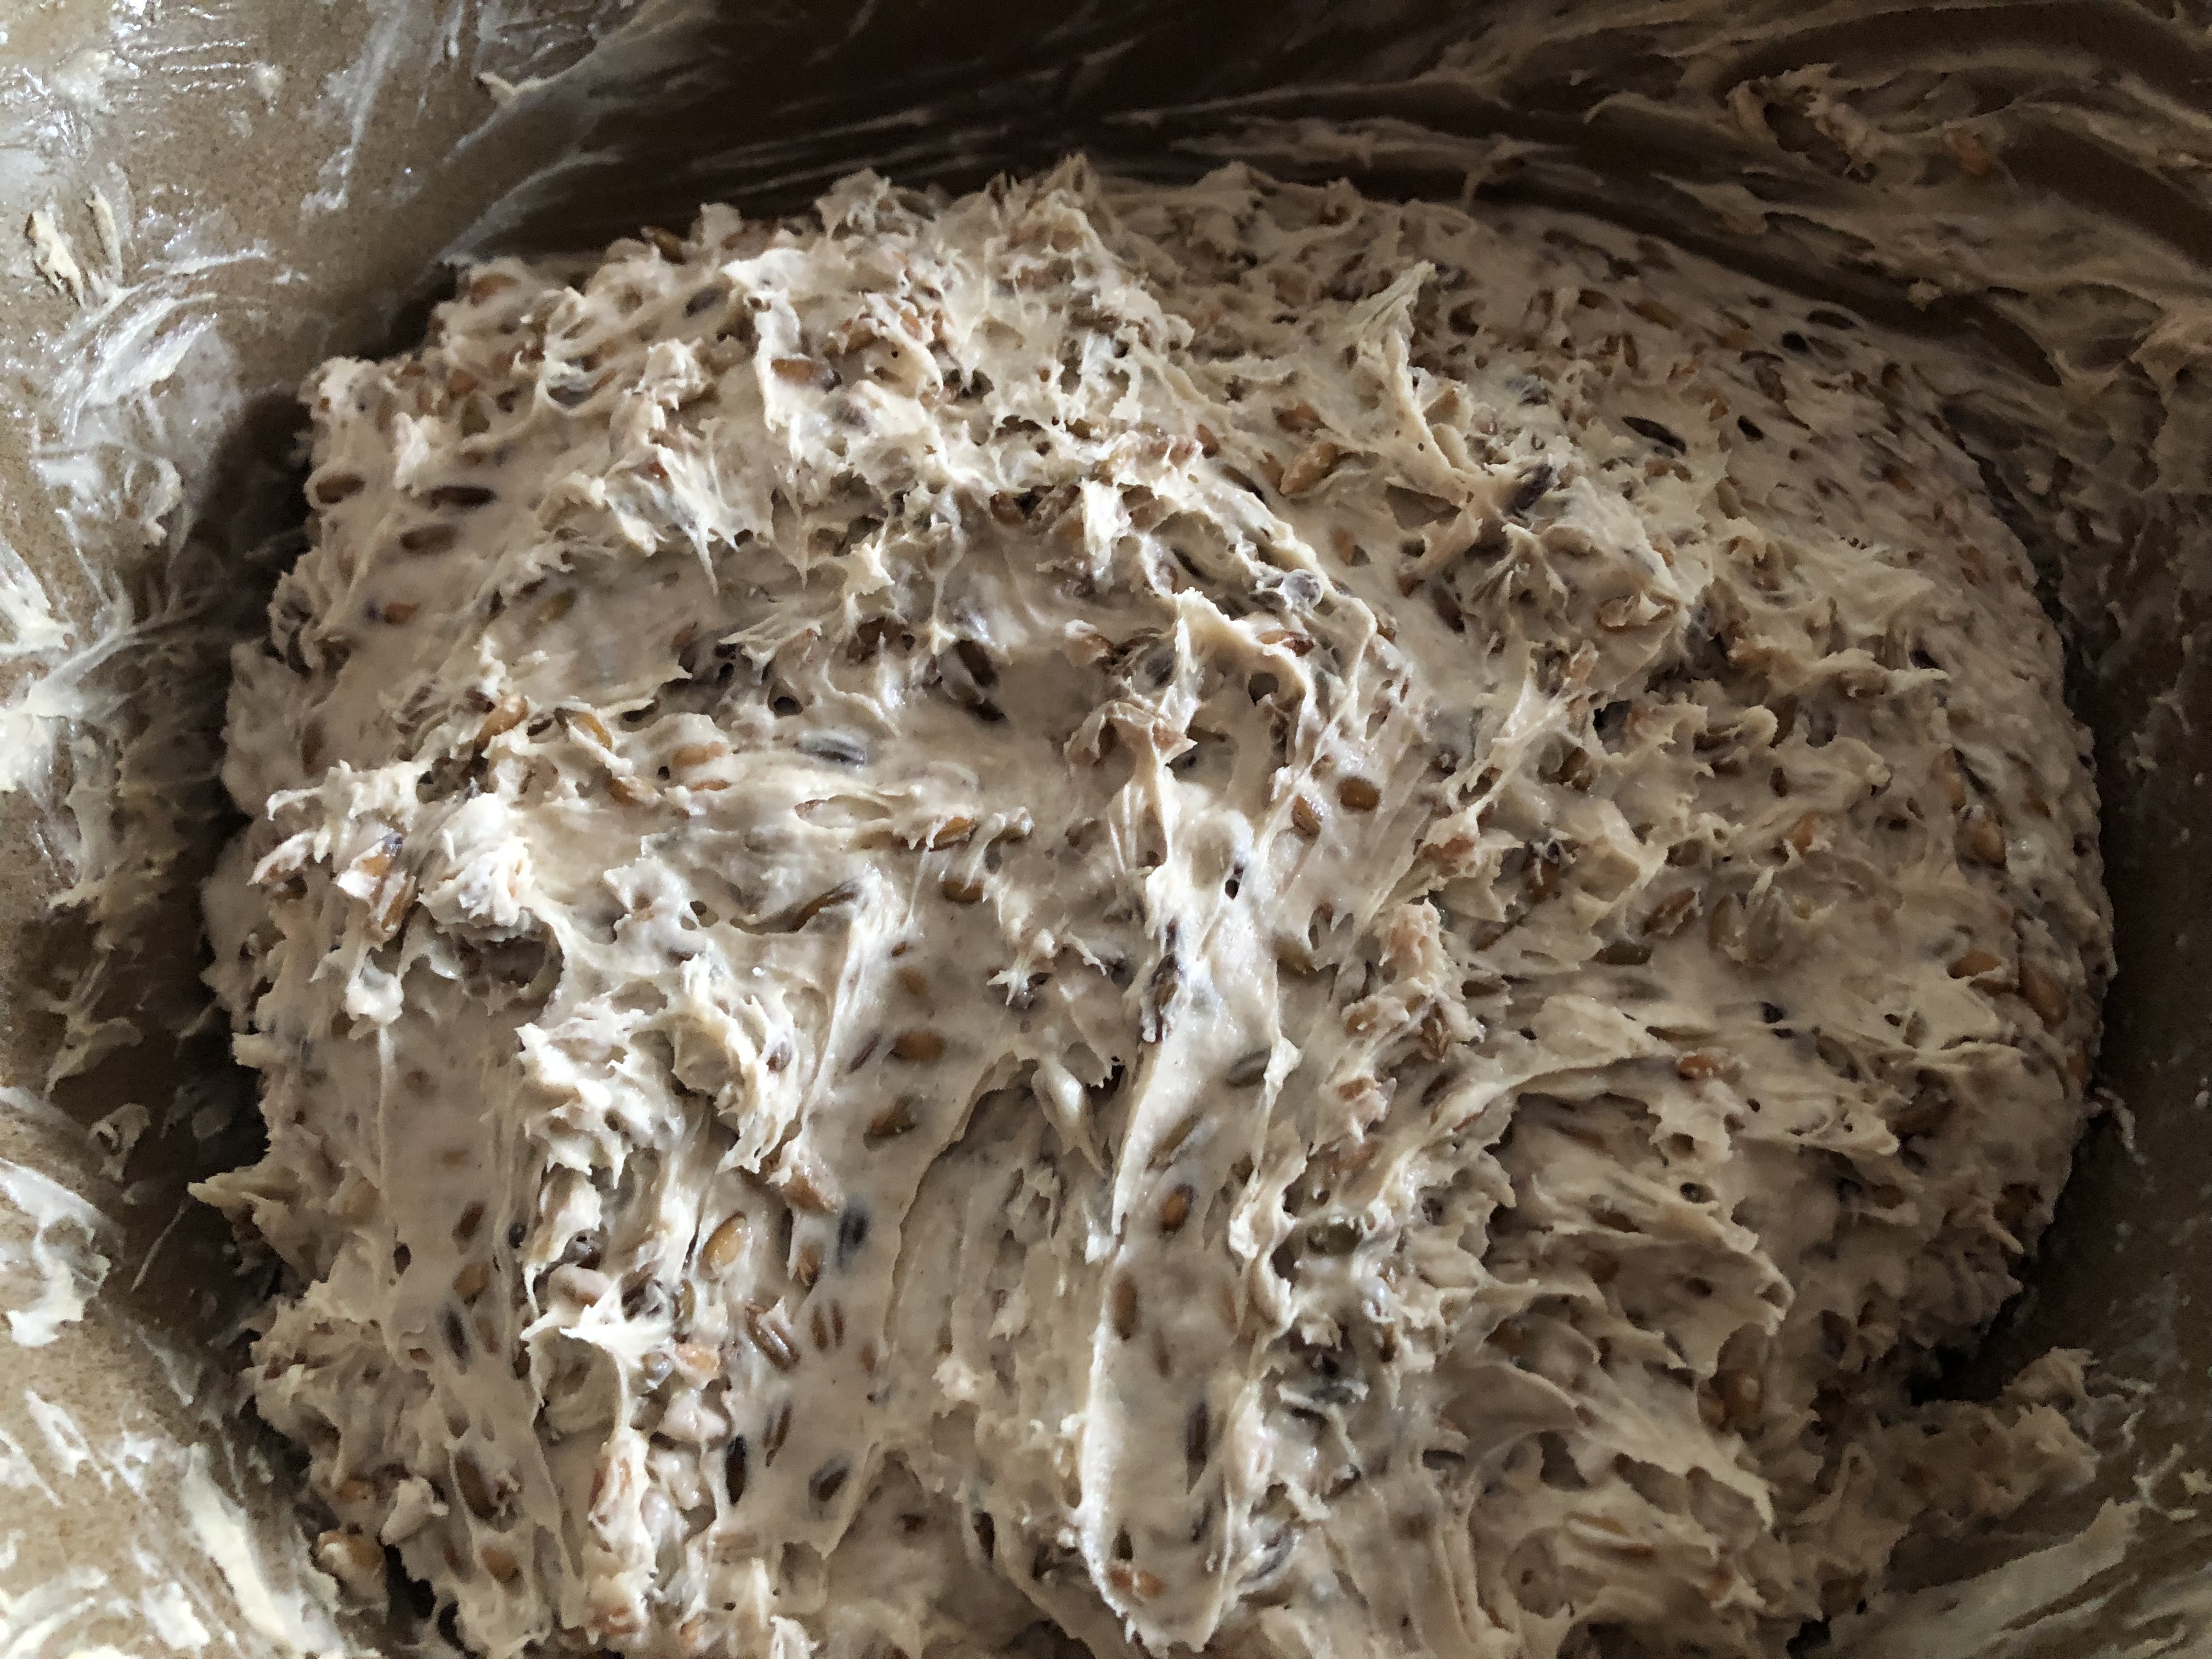
After 24 hours, mix the soaked rye kernels into the dough. This mix is really, really sticky and very hard to work with – I found it only worked if I used my hands. Don’t attempt to knead it. I cut the dough into sections and shaped those for the tins.
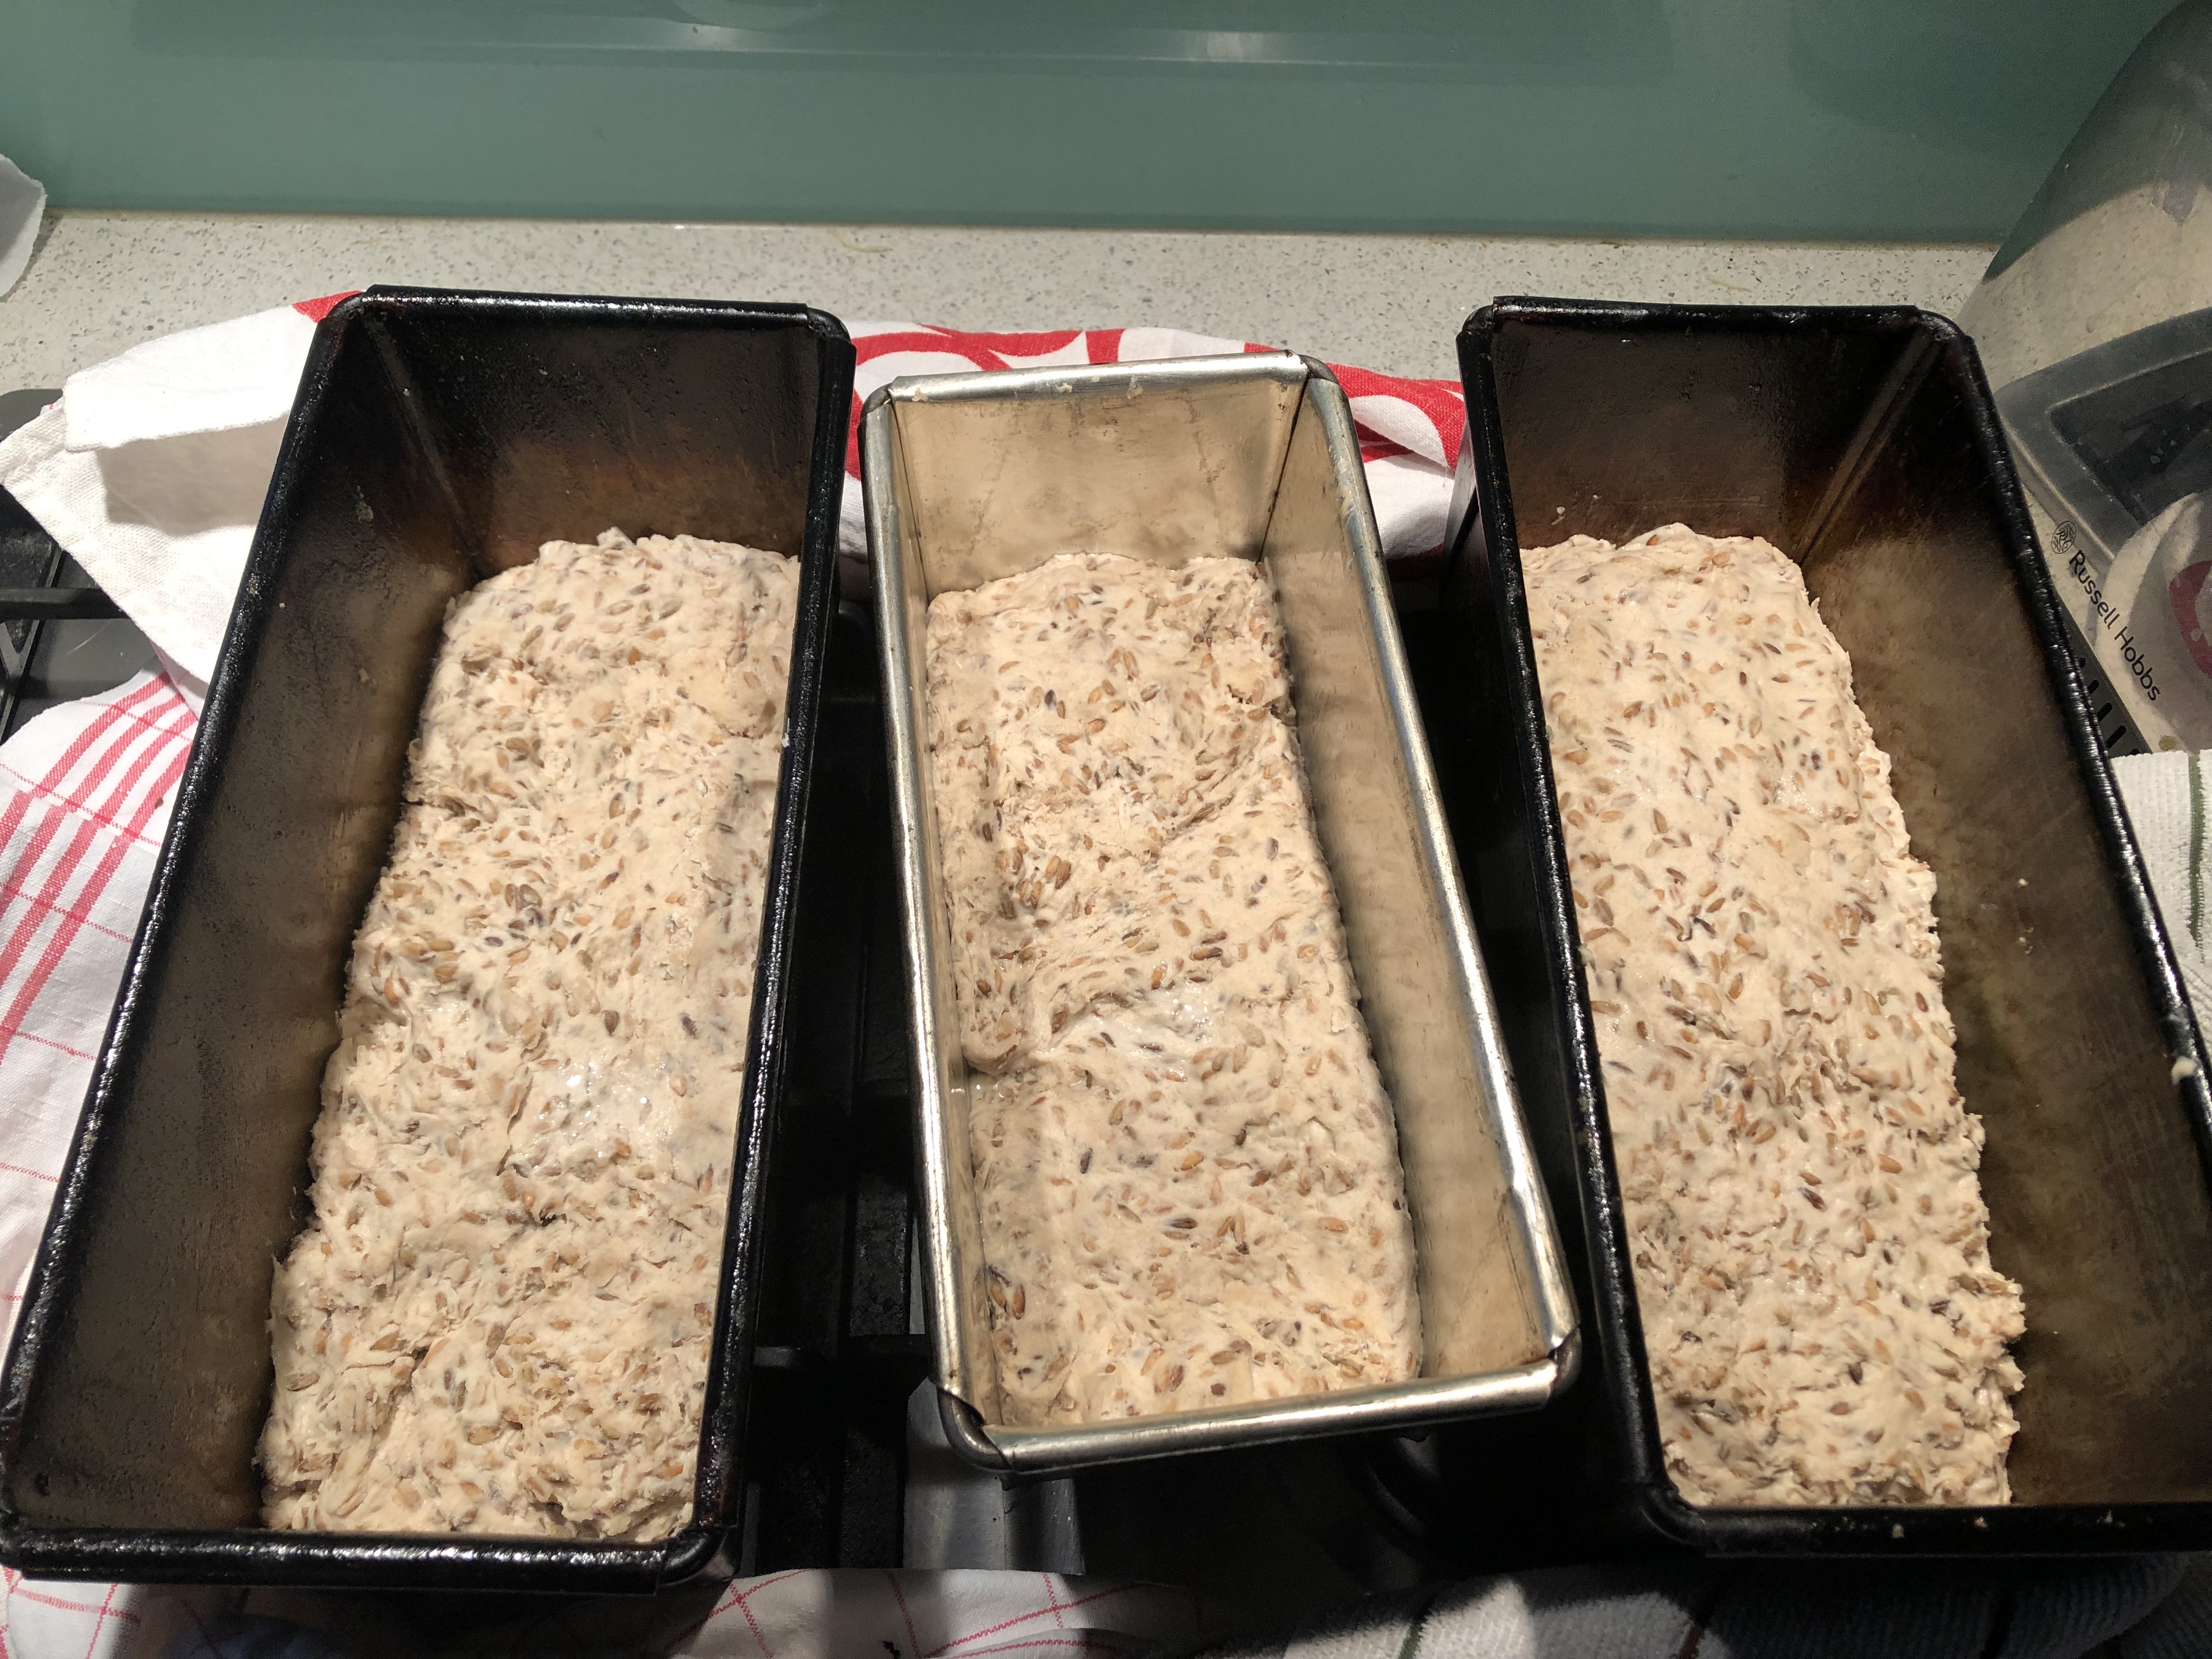
Spray or grease bread tins. This recipe called for three loaves, but if you are using fairly standard-sized tins, I would go with two (to match the size loaf I remember). The bread will rise a little during the baking process.
Leave them to sit for 3 hours. Again, you won’t get much rise.
Heat the oven to 150C. Bake the bread for 3 hours. After 1 1/2, cover the tine with foil.
Take it out of the oven and leave to sit for at least 12 hours too set properly. The texture really isn’t right until it has sat for a while. The outside grains get really tough, so be careful with your teeth
What I plan to try next time: Boil the grains, as well as soak them. Two tins, not three. More liquid in my first mix. No foil. Fresh-milled flour, left coarse.