
I make a lot of jams and jellies, and they are usually my “favourite” when I’ve just made them. But the one that’s my favourite all the time is this one: quince and apple jelly.
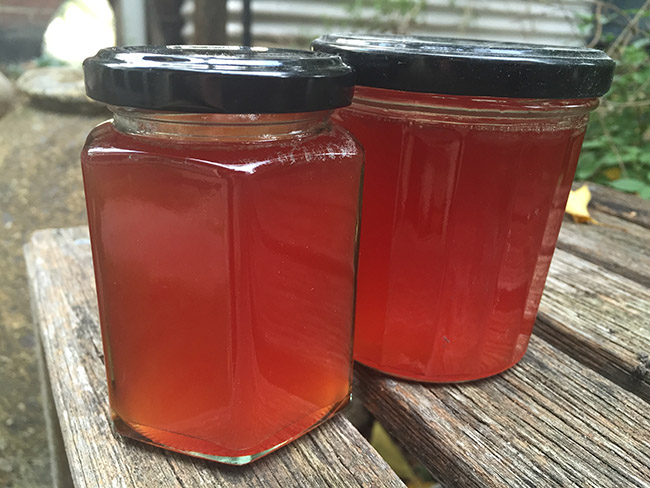
It’s partly the really pretty colour. It’s also partly the wonderfully fresh smell they fill the kitchen with when you chop them up. But it always comes down to the flavour and that’s what wins this one for me.
I’ve been making it for many years and it served as my real apprenticeship in jelly making. I haven’t had the set fail in years. It did happen quite regularly in the early days, until I started becoming really methodical and working out exactly what I had to do. Because having to redo it is a complete pain.
What I’ve tried to provide in this recipe is the kind of detailed information that, at the time, I couldn’t find in any book, or even online (though that was early internet days. It might be out there now).
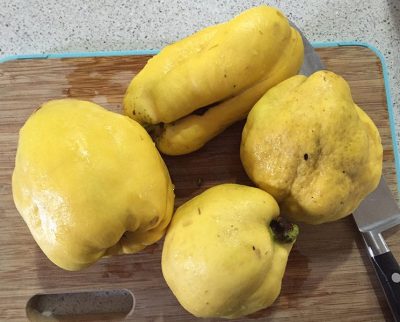
For years I got the quinces from a friend’s tree. They were absolutely riddled with bugs, but they made a totally delicious jelly. Quinces are a hard fruit, and it was a lot of work carving some clean bits out of them, but worth it in the end. That tree is no longer available to me, but I found a new source for a few, which was a lovely piece of produce magic.
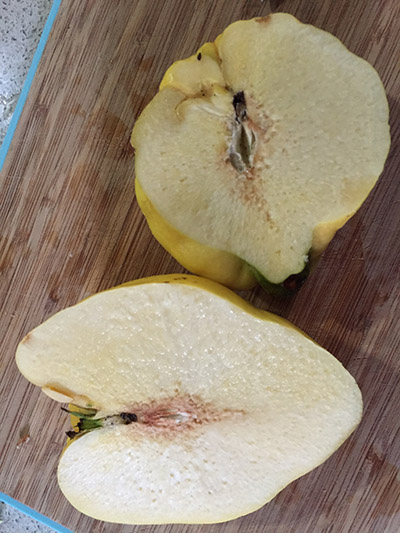
One of the lovely things about making quince jelly is watching the colour go from the insipid whitish through blush and into rosy pink.
Quince and apple jelly
Get a few quinces. They often have have a soft furry coating the outside, which you should wash off. I usually use a scrubber.
Once clean, chop them and put them in a saucepan – pips, cores, skin, everything.
Chop up some apples similarly, but no more than 1/3 the quantity of quinces. You want the quinces to dominate.
Put it all in a saucepan, barely cover it with water, bring it to the boil and set it all cook until everything is mushy. Take to it with a potato masher just to make sure. Once it’s mushy, leave it to sit in the pot overnight.
Next day, strain the whole mix through a clean cloth – un-dyed muslin, plain tea towel, something like that. I usually put a colander on a large saucepan, line the colander with the cloth and then pour the mixture through. Don’t squeeze or push the pulp – you want it to drip through at its own pace. Forcing it can cause cloudiness in your final jelly. Let that sit for at least several hours, or overnight.
When you’re ready to cook the jelly, get your clean jars out. Place them in the oven, set at 100C, to sterilise – and they must be hot when you put the boiling liquid into them or they might crack. Put the lids into boiling water and then let them drain. Make sure they are dry before you use them.
Measure your liquid: add 3/4kg of sugar for each litre of liquid. I use raw sugar, but white is more typical.
Put aside the juice of half a lemon (if it’s juicy, or a whole one if it’s not). I add it towards the end, but put it through a strainer first. You want completely clear liquid.
Put several clean saucers in the freezer for later testing of the set.
Put the liquid and sugar in the biggest stock pot you have. The temperature you need for jams and jellies is very high and the liquid will boil rapidly and expand enormously. Your pot should be at least 4 times bigger than the amount of liquid you start with, and more than that is better.

Put it on the highest heat you have. I use the wok burner. Bring it to the boil.
Attach your sugar thermometer to the pot if you have one, but it’s not necessary. If you do, you’re aiming for at least 104C.
If not, then you’re looking for the moment when the liquid is boiling so rapidly it threatens to boil over. You want to see it heading for the top of the pot. Either with a thermometer or not, from this point you’ll have to monitor it and adjust the cooking temperature as necessary so it doesn’t boil over, but still keeps boiling very hard.
Anyone using a sugar thermometer will notice that you get to 100-101 fairly quickly, but the last 3-4 degrees takes quite a while.
To get to the point it will set, it usually takes at least 10 minutes boiling at this level – from the first time it threatened to boil over. It’s not worth starting to test until then. (A note: not all fruits are the same when it comes to a jelly set, and some will take less time than this, but they all have to get to at least that point of threatening to boil over. Some will be done pretty much as soon as it gets to this point, for others it will take ages).
At this stage, get some of the liquid into a spoon and check it. You should notice it has thickened. The boiling liquid gets a bit gloopier too. Put a small amount on one of your frozen saucers and put it back in the freezer for 20 seconds. Leave a few drops in the spoon and let it sit at room temperature (do this each time you check).
When you get the saucer out of the freezer, push the liquid with your fingertip. If it’s ready, you will see a couple of clear wrinkles in the jelly around where your fingertip is pushing. If not, give it another minute of boiling and then put the next lot of liquid onto the next frozen saucer. You might do three or four before it’s right.
But you should also check the spoon left at room temperature. Sometimes it is clear the jelly is setting – you push your finger through it and the jelly stays on opposite sides and doesn’t come back together.
Don’t stop the boiling until you see clear signs that it’s starting to set. And once you do, stop. You can overcook it too, and you won’t get a jelly out of that. (I did that with feijoas one time – it’s one of those fruits that you apparently have to bottle long before it shows any sign of setting, and it sets in the jar over the next couple of days. I had no idea. I waited and waited for signs of it setting and ended up with an intense dark paste. Delicious in its own way, but not at all what I was after).
When it’s setting, turn the heat off. Once it’s calmed down skim off any scum left on the surface.
Get the jars out of the oven (no more than 2-3 at once). Fill a jug with the liquid (either pour it in, or fill with a ladle) and pour into the hot jars, leaving some space at the top, maybe 1½cm-2cm. Seal the lid on tight immediately. After a while, you should hear the lids pop loudly as the jelly cools and pulls them down, creating a seal.
Usually, you’ll know if they are going to set nicely quite quickly, but don’t despair if it doesn’t look right straight off, it can take up to 24 hours.
Verdict: perfect.
Corinna Hente

One thought on “Gone to jelly”